Difference between revisions of "VT3000 - Add Shared List"
Jump to navigation
Jump to search
SupportAdmin (talk | contribs) m (SupportAdmin moved page Create a Selection List to Create a Shared List without leaving a redirect) |
SupportAdmin (talk | contribs) |
||
| Line 1: | Line 1: | ||
A Selection List is created when you need to | A Selection List is created when you need to create one list for multiple devices. This will allow you to easily edit one list for multiple devices instead of multiple individual lists. | ||
---- | |||
'''1.''' Open the VT3000 web interface – log in – select Configuration – select Shared Lists. | |||
[[File:3112_1.png]][[File:3112_2.png]] | |||
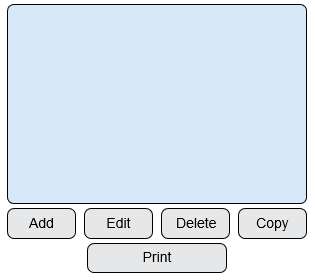
'''2.''' Select the Add button. | |||
[[File:3112_3.png]] | |||
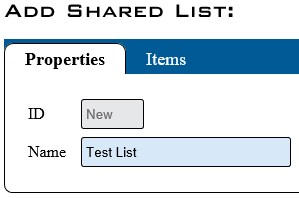
'''3.''' Properties tab: | |||
[[File:3112_4.png]] | |||
'''a. ID''' – this is created by the VT3000 software. | |||
'''b. Name''' – enter a name for the list that you can recognize when setting up a module. | |||
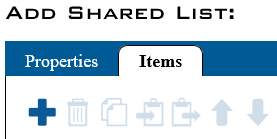
'''4.''' Items tab - select the Add/Plus icon to create a new item. | |||
[[File:3112_5.png]] | |||
'''5.''' An item list field is generated below the items tool box. To the right of the list is the item fields. | |||
[[File:3112_6.png]] | |||
'''a. Name''' – enter a name for the item. | |||
'''b. Value''' – if the box is unmarked the value field will be a duplicate of the Name field. To record a different name in the database, mark the box and enter a name. This name will show on all reports. | |||
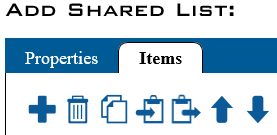
'''6.''' The Add/Plus icon to adds items. The Trash Can deletes items. | |||
[[File:3112_7.png]] | |||
'''7.''' When the list is completed select Save & Exit. | |||
[[File:3112_8.png]] | |||
Revision as of 14:42, 18 May 2017
A Selection List is created when you need to create one list for multiple devices. This will allow you to easily edit one list for multiple devices instead of multiple individual lists.
1. Open the VT3000 web interface – log in – select Configuration – select Shared Lists.
2. Select the Add button.
3. Properties tab:
    a. ID – this is created by the VT3000 software.
    b. Name – enter a name for the list that you can recognize when setting up a module.
4. Items tab - select the Add/Plus icon to create a new item.
5. An item list field is generated below the items tool box. To the right of the list is the item fields.
    a. Name – enter a name for the item.
    b. Value – if the box is unmarked the value field will be a duplicate of the Name field. To record a different name in the database, mark the box and enter a name. This name will show on all reports.
6. The Add/Plus icon to adds items. The Trash Can deletes items.
7. When the list is completed select Save & Exit.


