Difference between revisions of "VT3000 - Install - Virtual Client"
SupportAdmin (talk | contribs) |
SupportAdmin (talk | contribs) |
||
| Line 152: | Line 152: | ||
File:3174_21.png|Version & Contact Information | File:3174_21.png|Version & Contact Information | ||
</gallery> | </gallery> | ||
=Step by Step Guides= | |||
[[VT3000_Device_PlugIn|Device Plug In Information]] | |||
[[VT3000_-_Install_Device_Plug_In|Install Device Plug In]] | |||
Revision as of 18:24, 12 December 2018
Overview
The Virtual Client is a program used on a PC that allows the user to interact with a PC Call Station, PC Input Module or PC BSC Module. NOTE: The PC that you are installing the Virtual Client on, MUST be on the same Network as the VersaCall computer/server.
Instructions
1. Open the VT3000 web interface – select VT3000 - log in – select Configuration – select Devices.
2. Select the "Download Virtual Client" link.
3. Select Save As from the Windows prompt.
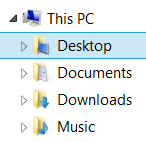
4. Select Desktop - select Save button.
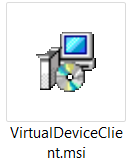
5. Navigate to the Desktop - double click on the "VirtualDeviceClient.msi" file.
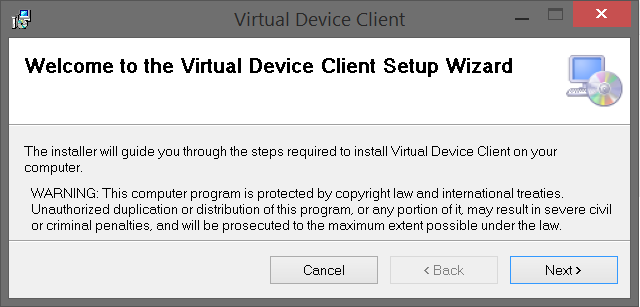
6. Select the Next button.
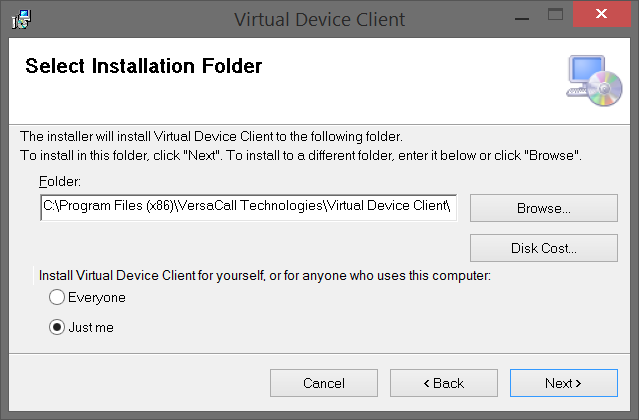
7. Installation Options:
    a. Folder - leave as default unless you are using a hard drive other than C.
    b. Everyone - if the client is to be used by anyone signing on to the computer.
    c. Just Me - only the user installing the client can use it.
8. Make the selection based on your needs/requirements - select the Next button.
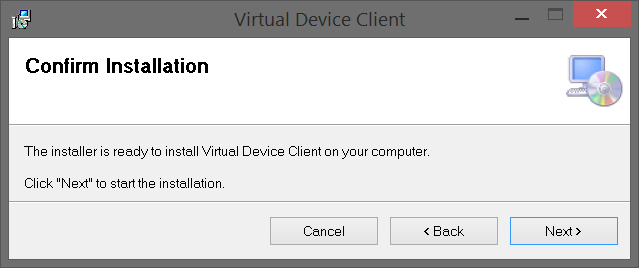
9. Select the Next button on the Confirmation window.
10. Select Yes/Allow on the Windows security message if it appears.
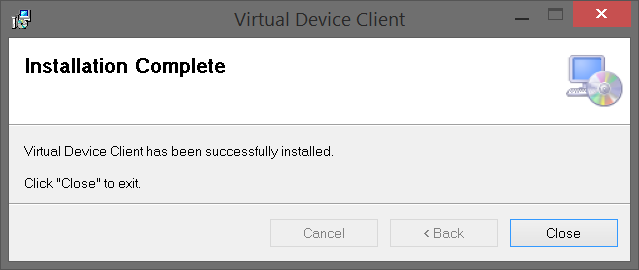
11. Select Close button.
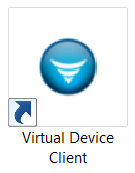
12. Select the Virtual Device Client icon.
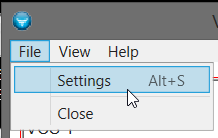
13. Press the "Ctrl" button, on your keyboard, when the Virtual Client window appears - select File from the Menu.
14. Select Settings.
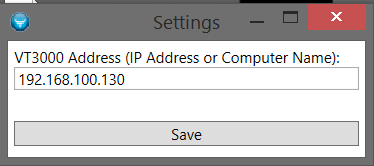
15. Enter the IP address of the VT3000 computer/server – select the Save button.
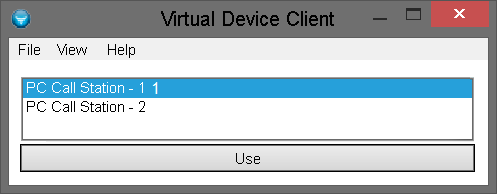
16. A list of available PC Modules will populate in the Client window - select a Device - select the Use button.
17. The module will look similar the screen shots below.
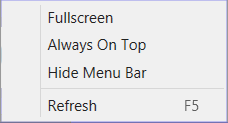
18. Virtual Client Options - select View on the Menu:
    a. Fullscreen – Client window will take up all space on the screen.
    b. Always On Top – Client window will be on the top of all other open windows.
    c. Hide Menu Bar – will remove the menu bar (File, View, Help).
    d. Refresh – will manually refresh the Client window.
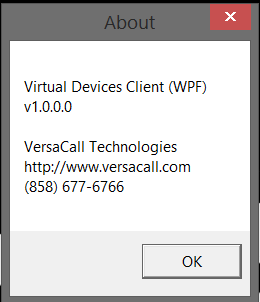
19. Virtual Client Options - select Help on the Menu:
Step by Step Guides


