VT3000 - Install - Virtual Client

From Versacall Support
Jump to navigation Jump to search
Call Now 858-677-6766 SubmitTckBtn.png EmailUsBtn.png


GeneralHeader.png

Overview
The Virtual Client is a program used on a PC that allows the user to interact with a PC Call Station, PC Input Module or PC BSC Module without using a web browser. We recommend that you use the Virtual Client only when you are having issues accessing the PC Device using your web browser.


Requirements
See Requirements Here
1. The VT3000 Core Software installed and running on your system.
2. The VT3000 Computer/Server must be connected to your network.
3. A PC Call Station, PC BSC or PC Input Plug In installed and licensed on your system.
4. A PC Call Station, PC BSC or PC Input device configuration setup in your system.
5. The PC that you are installing the Virtual Client on must be on the same Network as the VersaCall computer.


InstructionHeader.png

Step 1.
Open the VT3000 web interface – select VT3000 - log in – select Configuration – select Devices.
3174 1.png
3174 2.png
Configuration Devices


Step 2.
Select the "Download Virtual Client" link at the bottom of the Devices page above the Return to Configuration button.
3174 3.png


Step 3.
The file will automatically download to the computer you are working from. You will see the file progress shown at the bottom of the page. Generally this file will be downloaded to the Downloads folder.
3174 4.png


Step 4.
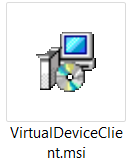
Open the Downloads folder on your computer - double click on the "VirtualDeviceClient.msi" file.
3174 7.png


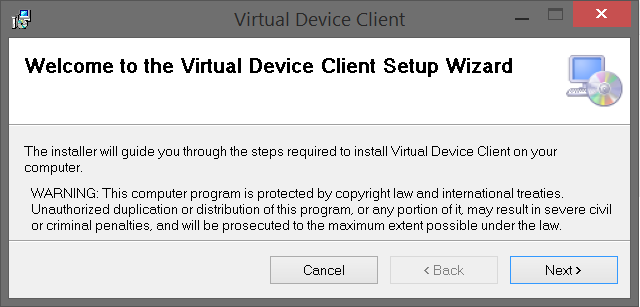
Step 5.
Select the Next button on the Wizard window.
3174 8.png


Step 6.
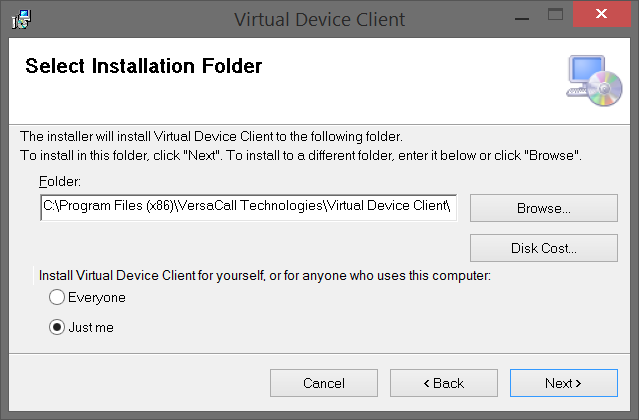
The following options are available on the second installation wizard screen.
Select the appropriate options that meet your requirements based on the information below - select the Next button when all options have been made.
3174 9.png
1. Folder - leave the location as default unless you are using a drive other than the C: drive for software installations.
2. Everyone - if you want the Virtual Client to be accessible to anyone that logs into the computer - select this option.
3. Just Me - if you only want the user that you are logged on as to use the Virtual Client - select this option.


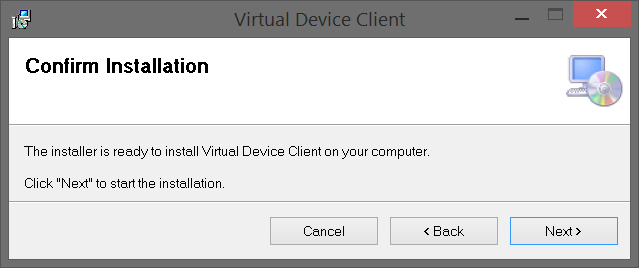
Step 7.
Select the Next button on the Confirm Installation window.
3174 10.png


Step 8.
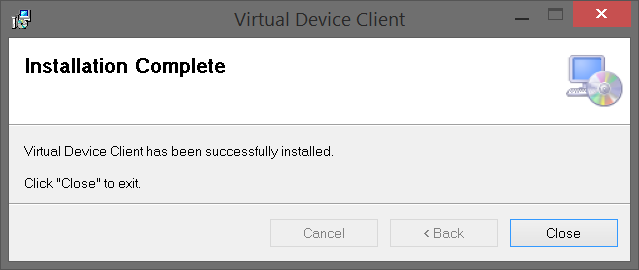
If you see a Windows message appear, select to allow the installation. An Installation Complete window will show after the install is done - select the Close button.
3174 11.png


Step 9.
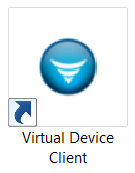
To open the Virtual Client - click on the icon on your desktop.
3174 12.png


Step 10.
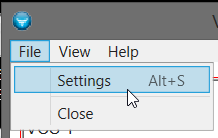
Press the "Ctrl" button, on your keyboard, when the Virtual Client window appears - select File from the top left corner of the Client window.
Ctrlkey.png
3174 13.png


Step 11.
Select Settings from the File menu.
3174 14.png


Step 12.
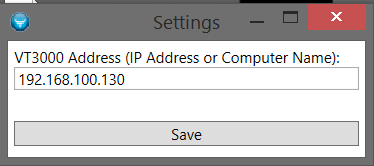
The settings window will have a field for the VT3000 Address. This is where you will enter the IP Address of the VersaCall computer. Enter the IP Address and select the Save button.
3174 15.png


Step 13.
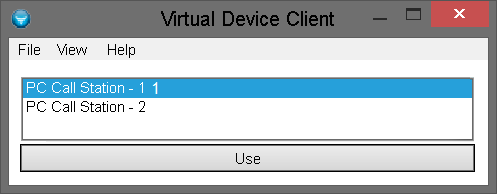
A list of all the available PC Devices will show in a list. Select the device that you want to use so that it is highlighted - select the Use button.
3174 16.png


Step 14.
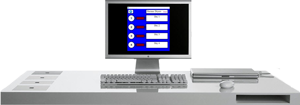
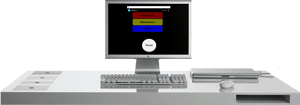
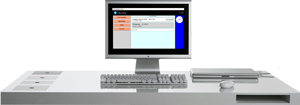
Your Client window will be similar to one of the screen shots below depending on what type of module you selected..
3174 18.png
3174 17.png
PC Call Station PC BSC
3174 22.png
PC Input Module


RelatedHowTos.png
Select a Guide Here
An Overview of Device Plug In Section
Changing/Switching the Configuration of a PC BSC
Changing/Switching the Configuration of a PC Call Station
Changing/Switching the Configuration on a PC Input Module
Open/Use a PC BSC on a Computer or Tablet
Open/Use a PC Call Station on a Computer or Tablet
Open/Use a PC Input Module on a Computer or Tablet


SearchHeader.png


VC Footer.png
Follow Us On LinkedIn View our Blog