VT3000 - Change Device ISO Code - VT3000 Software - BSC, TIM, PSM
Overview
An Isolation Code is the specific channel used for a coordinator. Different Isolation Codes are required multiple coordinators are used. New devices are shipped with a default Isolation Code of 1. There are multiple methods available to change the code - select the method that best fits your situation.
Instructions
Using the VT3000 software For this method, a coordinator with Isolation Code 1 must be active on the VersaCall computer.
1. Power the device that needs to be changed.
2. Open the VT3000 web interface – log in – select Diagnostics – select Device Status.
3. The device must show on the Device Status page - use the Mesh Address to identify. Select the Options link.
4. Select Commands.
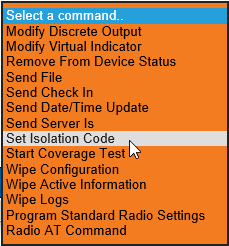
5. Select the down arrow in the Command field.
6. Select Set Isolation Code.
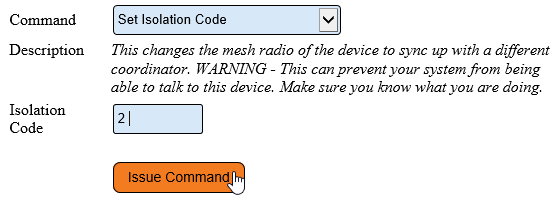
7. Enter the Isolation Code number in the Isolation Code field – select Issue Command.
8. The device will reboot - the coordinator/network will update and reflect the change.
NOTE: This method will work for any device, when a coordinator with Isolation Code 1 is active.
Using the Touch Screen:
This method works on TIM, PSM and BSC Devices showing in Device Status.
1. Power both the IO module and the touch screen - ensure the Bluetooth connection is active. Select the 3 squares (top right corner).
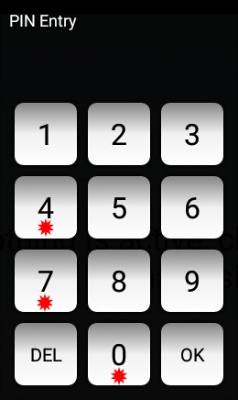
2. Enter “7047” on the keypad – select OK.
3. Select Settings - scroll down and locate Mesh heading. Locate the Isolation Code line. Select Get on the right side of the screen.
4. The current Isolation Code will populate. The Get button will now display as Change - select Change.
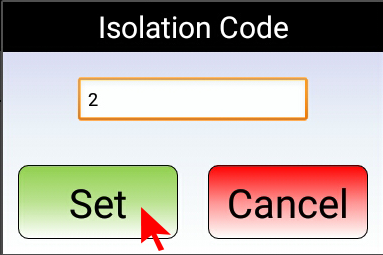
5. Enter the Isolation Code number – select Set.
6. The device will reboot - exit settings on the touch screen. Check Device Status - the coordinator/network will update and reflect the change.
Using the Internal Micro SD Card:
This method will work for any device regardless of type. A computer and Micro SD card reader are required.
1. Unplug power from the device or IO module.
2. Loosen the screws on the front of the module until they spin freely.
3. There are 2 types of boards, each is shown below. The Micro SD card placement is highlighted.
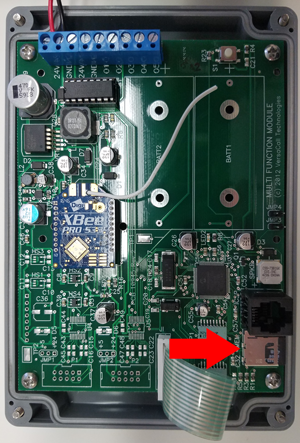 - Type 1 - the SD card is spring loaded – push in on the card to release it.
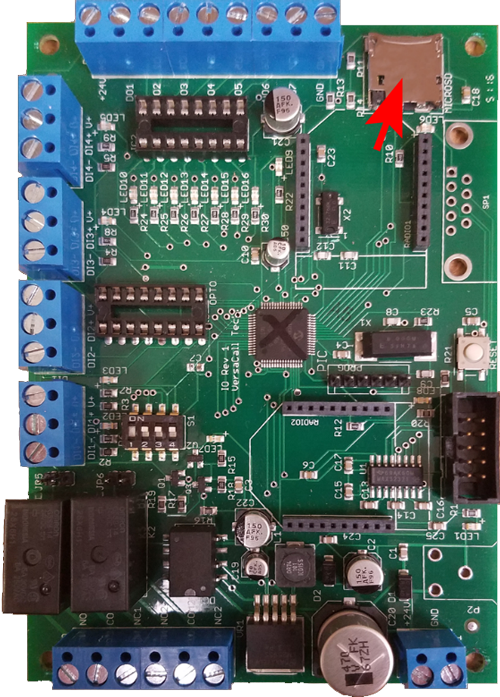 - Type 2 - the SD card must be pushed up to unlock the lifted out to remove.
4. Insert the Micro SD card into a reader attached to the computer.
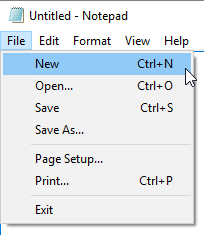
5. Open Windows Notepad. If you do not have this program you can use Microsoft Word. Select Create a New file.
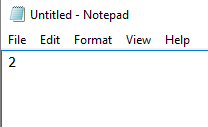
6. Type the Isolation Code number in the first space on the document. Do not type anything else on the file.
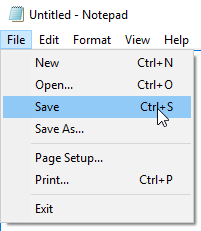
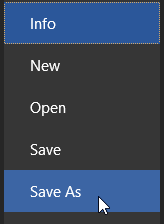
7. Notepad - select Save and name the file ISOCODE.txt. Word - select Save As - select Plane Text format and name the file ISOCODE.txt.
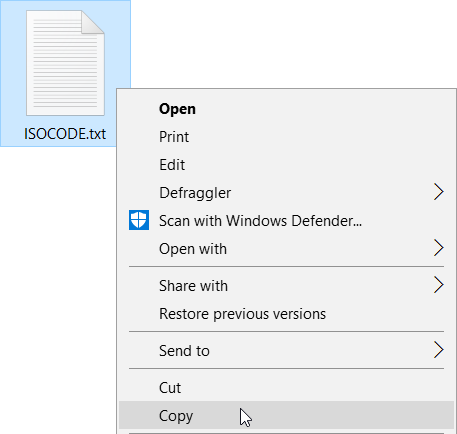
8. Use Windows Explorer to navigate to the ISOCODE.txt file location. Select to Copy the file.
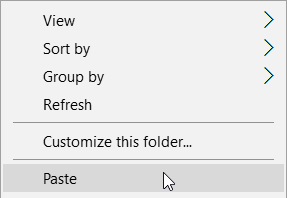
9. Navigate to the SD Card. Select to Paste the file.
10. Remove the SD Card - place it back in the module.
11. Place the cover back onto the module and tighten the screws.
12. Power up the module – Check Device Status - the coordinator/network will update and reflect the change.


