Difference between revisions of "VT3000 - Test - Output Group"
Jump to navigation
Jump to search
SupportAdmin (talk | contribs) |
SupportAdmin (talk | contribs) |
||
| Line 1: | Line 1: | ||
{|style="margin:left;" | {|style="margin:left;" | ||
|valign="top" | | |valign="top" | | ||
{|class="wikitable" style="background:#eaf3ff;" | {|class="wikitable" style="background:#eaf3ff; width: 800px;" | ||
|- | |- | ||
!style="text-align: left;"|<big>'''Overview'''</big> | !style="text-align: left;"|<big>'''Overview'''</big> | ||
Revision as of 17:55, 9 November 2021
|
|
Instructions
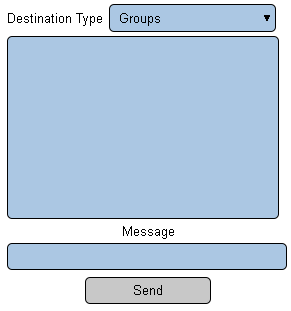
1. Open the VT3000 web interface – log in – select Communications.
2. Communication Options:
    a. Destination Type – select type of output to test.
    b. List – select an ouptut that you wish to test.
    c. Message – enter the message you wish to send to the ouput.
    d. Send – select to send to transmit the message.
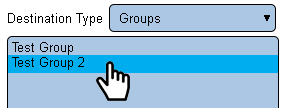
3. Select Group for Destination Type.
4. Select a Group from the list - it will be highlighted.
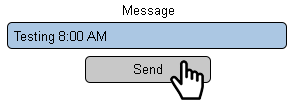
5. Enter a message - select the Send button.
6. Check all the outputs in the Group to ensure they received the message. If a message was not received, start double checking the setup of each individual output.
|
| |||||


