VRS - Create a Saved Report
Overview
A Saved Report is created to reduce the number of steps required to run a report. Running any report will require 7 basic steps, as Saved Report allows the user to lock steps that are the same each time the report is run.
Requirements
1. VRS II installed and running on the system.
2. A Report Template uploaded into the system.
3. Permission to create a Saved Report.
Instructions
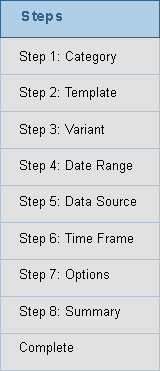
1. Run a report as you normally would - complete all 8 steps and select Run.
2. The report will run/populate in a new web browser tab - click on the VRS II tab.
3. Select the "Convert to a Saved Report" button.
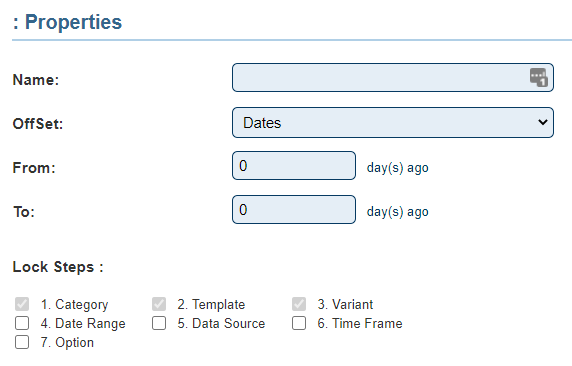
4. The following options are available on the Properties page:
    a. Name - enter a name for the saved report.
    b. Offset - select the type of time offset for the report. How many days, weeks, months or years do you want to go back when the report is run. This is not a required field.
         i. Dates - enter number of days in From & To field.
         ii Weeks - enter number of weeks in From & To field.
         iii. Months - enter number of months in From & To field.
         iv. Years - enter number of years in From & To field.
    c. From - enter a day, week, month or year for when the report will start.
    d. To - enter a day, week, month or year for when the report will end.
    e. Lock Steps - select the steps that are not required to be changed each time the report is run.
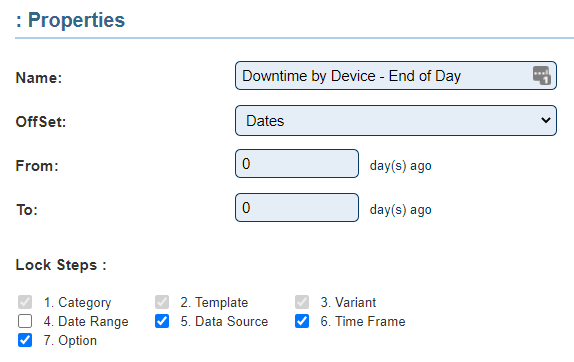
5. Example 1: this report would be used at anytime with everything being the same except the Date Range. There is no offset and the only step not locked is the Date Range.
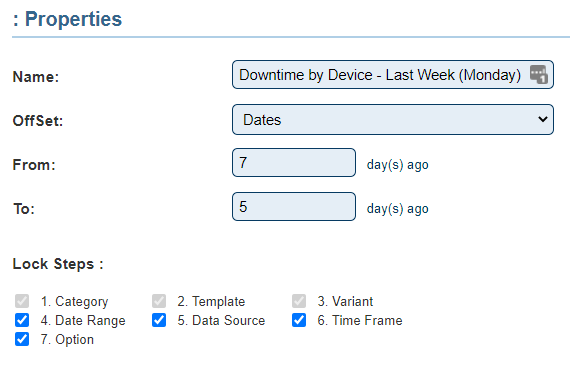
6. Example 2: This report would be used on Monday's to run the numbers for the previous week. A week being Monday - Friday. The offset is 7 days ago to 2 days ago which would cover Monday to Friday. All steps are locked as we do not need to adjust anything.
7. Setup your report to your requirements - click on the Save & Exit button when complete.
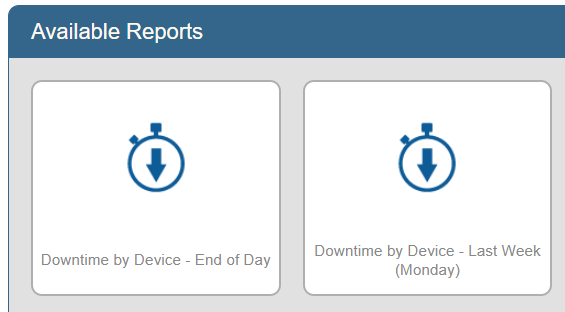
8. The VRS homepage will load - the Saved Report created will be available for selection.
Step by Step Guides
Add a User Group (Permissions)
