Difference between revisions of "VT3000 - Add Radio Channel"
SupportAdmin (talk | contribs) |
SupportAdmin (talk | contribs) |
||
| Line 3: | Line 3: | ||
=Requirements= | |||
'''1.''' VT3000 Core software installed and running on the system. | |||
'''2.''' Radio module installed and configured in the VT3000 Core software. | |||
'''3.''' Channel information. | |||
| Line 76: | Line 76: | ||
=Step by Step Guides= | =Step by Step Guides= | ||
[[VT3000 - Install 2-Way Radio Module|Installing a Radio Module]] | |||
[[VT3000 - Test - Radio Channel|Test a Radio Channel]] | [[VT3000 - Test - Radio Channel|Test a Radio Channel]] | ||
Revision as of 22:35, 29 July 2020
Overview
When adding a UHF/VHF Radio, you will need to set it up in the VT3000 software. The Radio Transmitter must be connected to the VersaCall Control Unit and working properly. Any recorded audio files must be uploaded to the VersaCall Control Unit prior to setting up a route for the Channel.
Requirements
1. VT3000 Core software installed and running on the system.
2. Radio module installed and configured in the VT3000 Core software.
3. Channel information.
Instructions
1. Open the VT3000 web interface – log in - select Configuration – select Outputs.
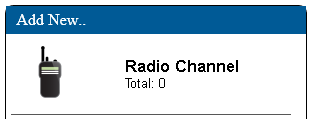
2. Select the Radio Channel icon under the Add New list.
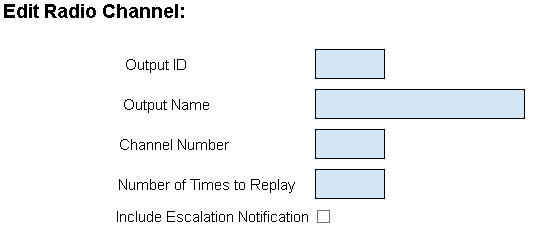
3. Output - Properties:
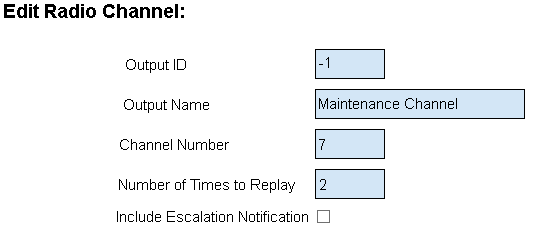
    a. Output ID – assigned by VT3000 software.
    b. Output Name – enter a name for the radio channel.
    c. Channel Number – enter the channel number.
    d. Number of Times to Replay – enter the number of times message should repeat over the channel.
    e. Include Escalation Notification – mark if the system should state what level of escalation has been reached.
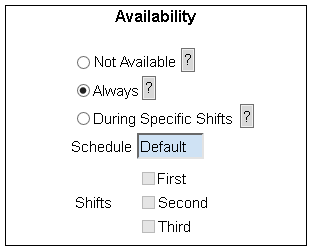
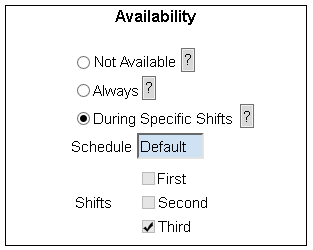
4. Output - Availability:
    a. Not Available – messages will never play on the channel.
    b. Always – messages will play on the channel 24 hours a day.
    c. During Specific Shifts – messages will play on the channel during the selected shift & schedule.
5. Output - Properties - Example:
6. Output - Availability - Example:
7. When the Radio Channel has been setup select the Save & Exit button. To delete any changes select Discard & Exit.
Step by Step Guides
Radio is Transmitting Audio Files are Not Playing


