VT3000 Devices
Jump to navigation
Jump to search


|

|

|
Detailed Information
- Each device has a specific duty in the VT3000 system.
- To accomplish the task, each module has a specific set of monitoring points, outputs and inputs that can be created/added to it.
- Each of the icons shown below also show in the Add list when adding a device.
| ||||||||||||||||||||||||||||||||||||||||||||||||||||||||||||||||||||||||||||||||||||||||||||||||||||||||||||||||||||||
Basic Functionality
- Add Device Configuration - Select the Icon of the type of Device you want to Add.
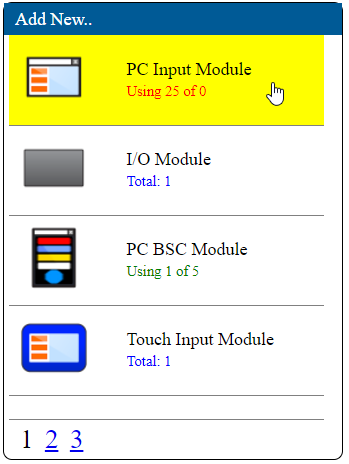
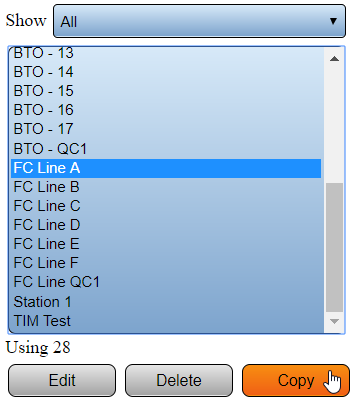
- Edit Device Configuration - Select an existing Device Configuration from the list. Select the Edit button.
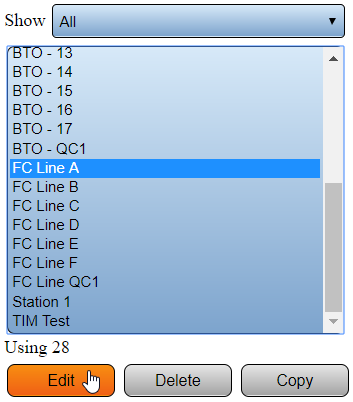
- Remove Device Configuration - Select an existing Device Configuration from the list. Select the Delete button.

- Copy Device Configuration - Select an existing Device Configuration from the list. Select the Copy button.
Device Properties
- When a device is added, edited or copied the Properties tab is the first tab shown on all device types.
- Use this section to enter a name for the device.

Monitoring Points
- After selecting the Monitoring Points tab, there will be up to 4 monitoring points available to be added.
- The number of Monitoring Points shown will depend on the Device Type selected.
 Process
 Alarm
Alarm Data Field
 Sampler
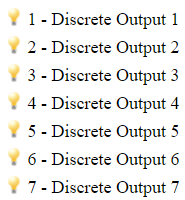
Discrete Outputs
- Outputs After selecting the Discrete Outputs tab, there will be 7 outputs available.
- Select an Output to set it up.
 Output Setup
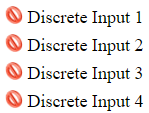
Discrete Inputs
- After selecting the Discrete Inputs tab, there will be 4 inputs available.
- Select an Input to set it up.
 Input Setup
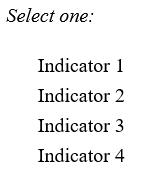
Indicators
- After selecting the Indicators tab, select the Add icon or an Indicator.
- Either selection will allow you to access the Indicator Properties.
 Indicator Setup
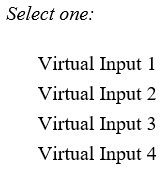
Virtual Inputs
- After selecting the Virtual Inputs tab, select the Add icon or an existing Input.
- Either selection will allow you to access the Virtual Input Properties.
 Virtual Input Setup
Communications
- After setting up an Alarm, the Communications tab will be available in the Alarm Properties.
- Select the Communications tab to access the communication path(s) setup & properties.
 Communications Setup
Actions
- After setting up a monitoring point, the Actions tab will be available in the Alarm Properties.
- Select the Actions tab to access the Actions setup & properties.
 Actions Setup
Keyword Search
| Type Subject or Key Word to Query Archives |
|---|

|