VT3000 - Radio Install Troubleshooting

From Versacall Support
Jump to navigation Jump to search
Call Now 858-677-6766 SubmitTckBtn.png EmailUsBtn.png


GeneralHeader.png

Overview
If you have followed the installation instruction for your Radio and the test was not successful, use this troubleshooting guide. Occasionally, the LPT Port setting will not work and you will need to use the specific Resource Settings. This guide explains how to do this.


Requirements
See Requirements Here
1. The VT3000 Core Software installed and running on your system.
2. Radio Module connected to the VersaCall computer/server
3. Physical access to the Radio Module & VersaCall computer/server.
4. Permission to access Windows Device Manager.


Hardware Components
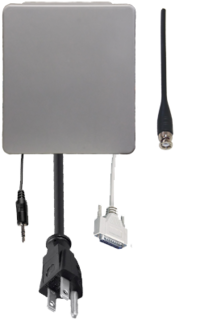
InstallRadio1.png
Radio Module


InstructionHeader.png

Step 1.
Double check all connections.
Radio7.png
Radio8.png
Rado3.png
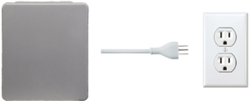
LPT Cable - securely plugged into the VersaCall computer/server via LPT Port. Audio Cable - plugged into the correct port on the VersaCall computer/server. Power Cord - radio module plugged into a working electrical outlet.


Step 2.
On the VersaCall computer select - Windows Start button - Control Panel - Device Manager.
Rado7.png
Rado9.png
Rado11.png
Windows Start Control Panel Device Manager


Step 3.
Select to expand the Ports (COM & LPT) section.
Radio1.png


Step 4.
Select the first LPT port in the list - so that it is highlighted.
Radio2.png


Step 5.
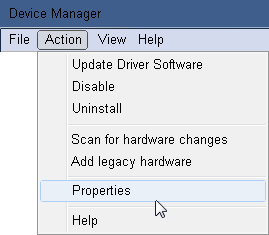
Select Action - Properties.
Radio3.png


Step 6.
Select the Resources tab.
Radio4.png


Step 7.
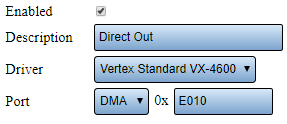
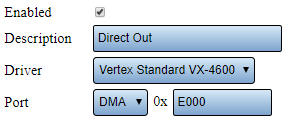
In the Resource Settings section there will be 2 I/O Range settings. Take note of the first number in each range (E010 & E000 in our example below).
Radio5.png


Step 8.
Open the VT3000 web interface - select Core Software - Administration - System Settings - Service.
3122 10.png
3122 11.png
3122 12.png


Step 9.
Select Audio Out tab.
Radio9.png


Step 10.
Select DMA for the Port field. Enter the first letter/number range in the field provided.
Rado5.png


Step 11.
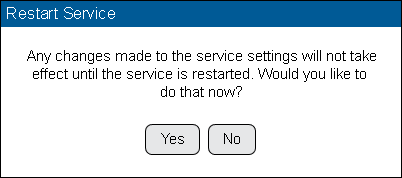
Select Yes on the Restart warning message. This must be done to complete the setup.
3102 22.png


Step 12.
Restart the VersaCall Service - Click here for Instructions.


Step 13.
Test the Radio - Click here for Instructions.


Step 14.
If there is no sound after testing, open the VT3000 web interface - select Core Software - Administration - System Settings - Service.
3122 10.png
3122 11.png
3122 12.png


Step 15.
Select Audio Out tab.
Radio9.png


Step 16.
Select DMA for the Port field. Enter the second letter/number range in the field provided.
Rado6.png


Step 17.
Select Yes on the Restart warning message. This must be done to complete the setup.
3102 22.png


Step 18.
Restart the VersaCall Service - Click here for Instructions.


Step 19.
Test the Radio - Click here for Instructions.


Step 20.
If the Radio is still not working properly, please contact VersaCall Support for further assistance.


RelatedHowTos.png
Select a Guide Here
Installing a New 2-Way Radio
Find the 2-Way Radio Properties/Settings
2-Way Radio Module Schematic of Components
2-Way Radio Wiring Schematic
Using a Phone Modem & 2-Way Radio Together
Test a the 2-Way Radio Module/Radio Channel
Add a Radio CHannel to Outputs in VT3000 Core Software


SearchHeader.png


VC Footer.png
Follow Us On LinkedIn View our Blog