VT3000 - Replace Coordinator - USB

From Versacall Support
Jump to navigation Jump to search
Call Now 858-677-6766 SubmitTckBtn.png EmailUsBtn.png


GeneralHeader.png

Overview
The Coordinator is the device that connects the VersaCall software running on the computer/server to the hardware modules on the plant floor. Without this device, the devices and software cannot communicate. The instructions below will show you how to replace a old Coordinator with a new Coordinator. If you are installing a New USB Coordinator for the first time Click here for Instructions.


Requirements
See Requirements Here
1. The VT3000 Core Software installed and running on your system.
2. Physical access to the Coordinator & VersaCall Computer/Server.
3. New Coordinator hardware.


Hardware Components
Coor1.png
Phone 2.png
Coor3.png
Coor2.png
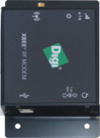
Coordinator USB Cord Power Cord Antenna


InstructionHeader.png

Step 1.
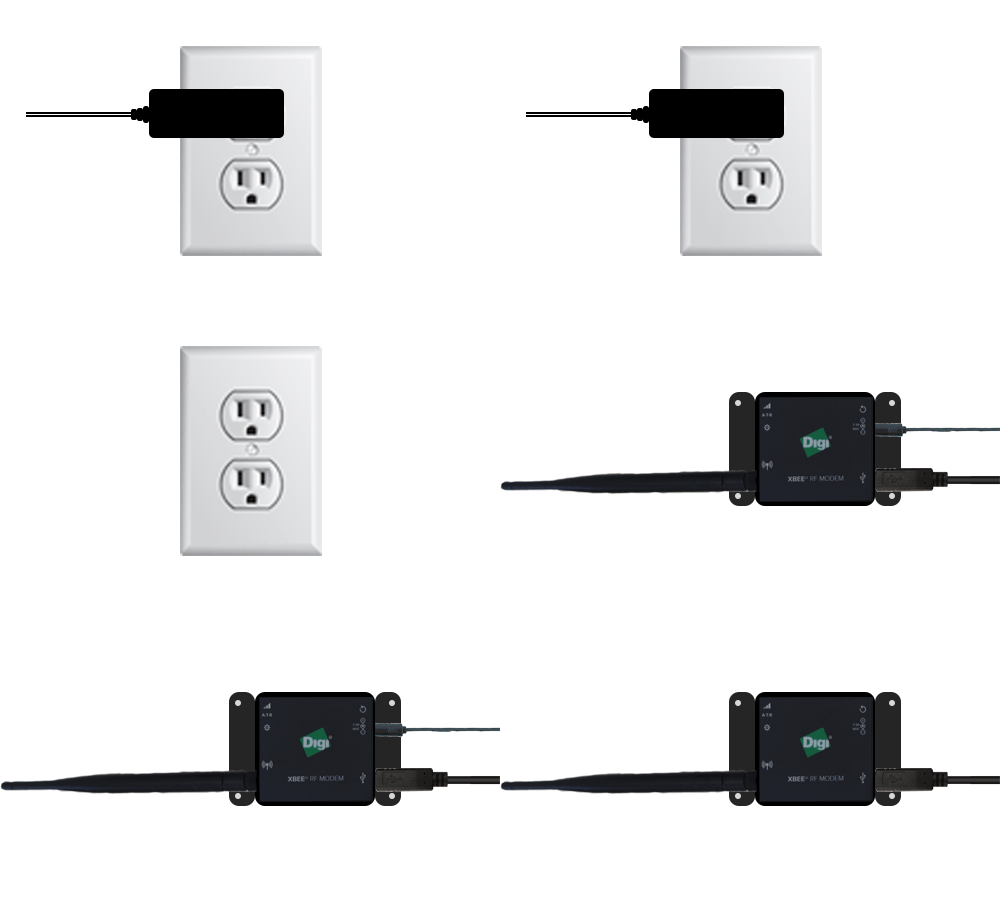
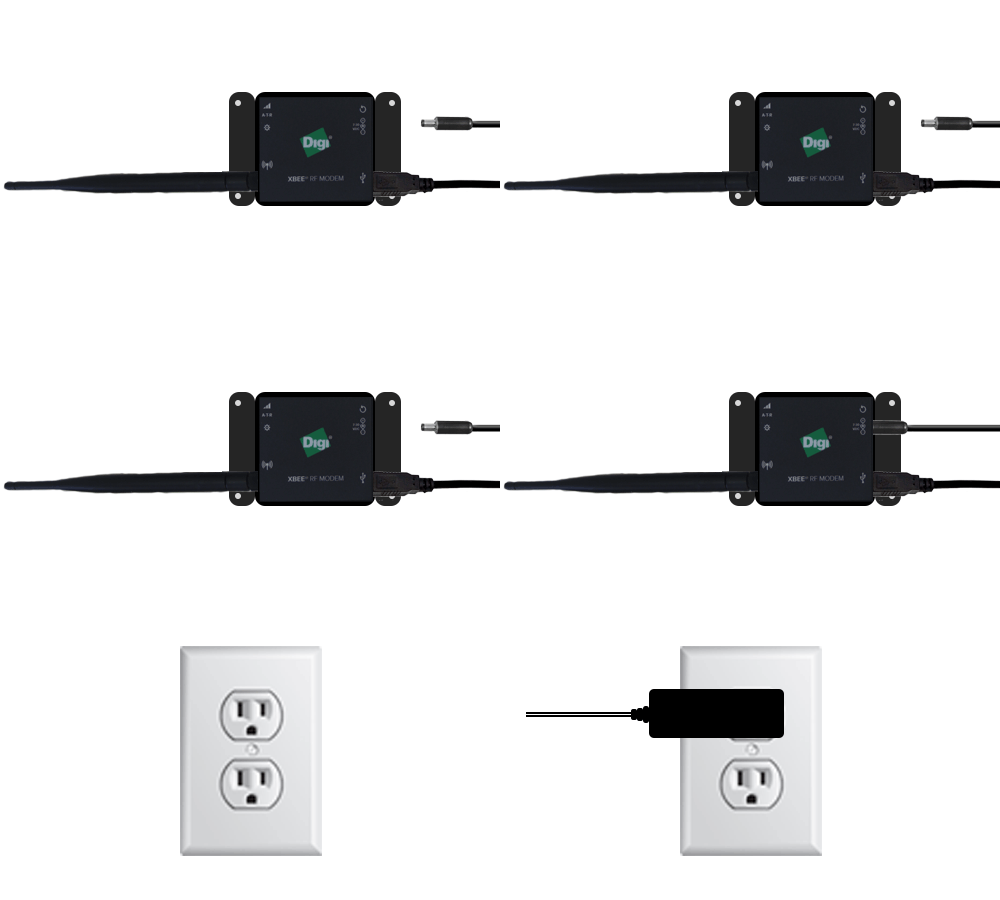
If your coordinator is powered, disconnect the Power from the outlet and from the coordinator.
USBCoordinator1.gif


Step 2.
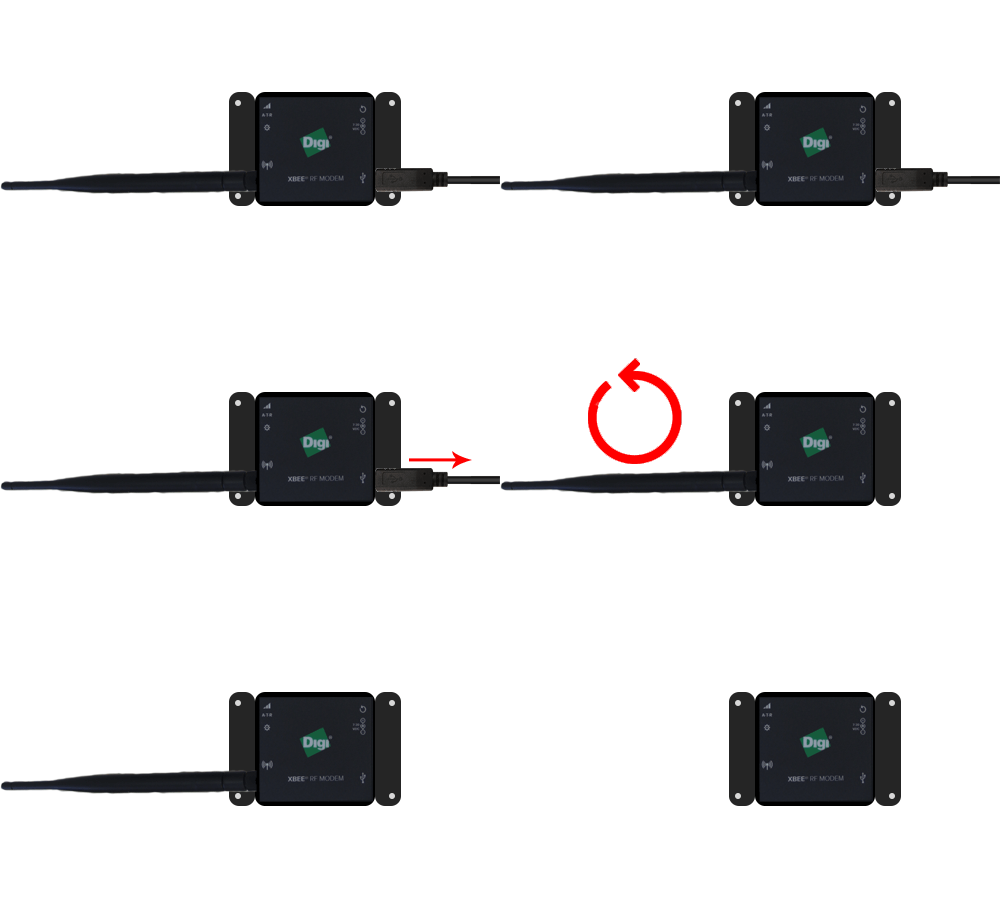
Remove the antenna and disconnect the USB Cord from the Coordinator.
USBCoordinator2.gif


Step 3.
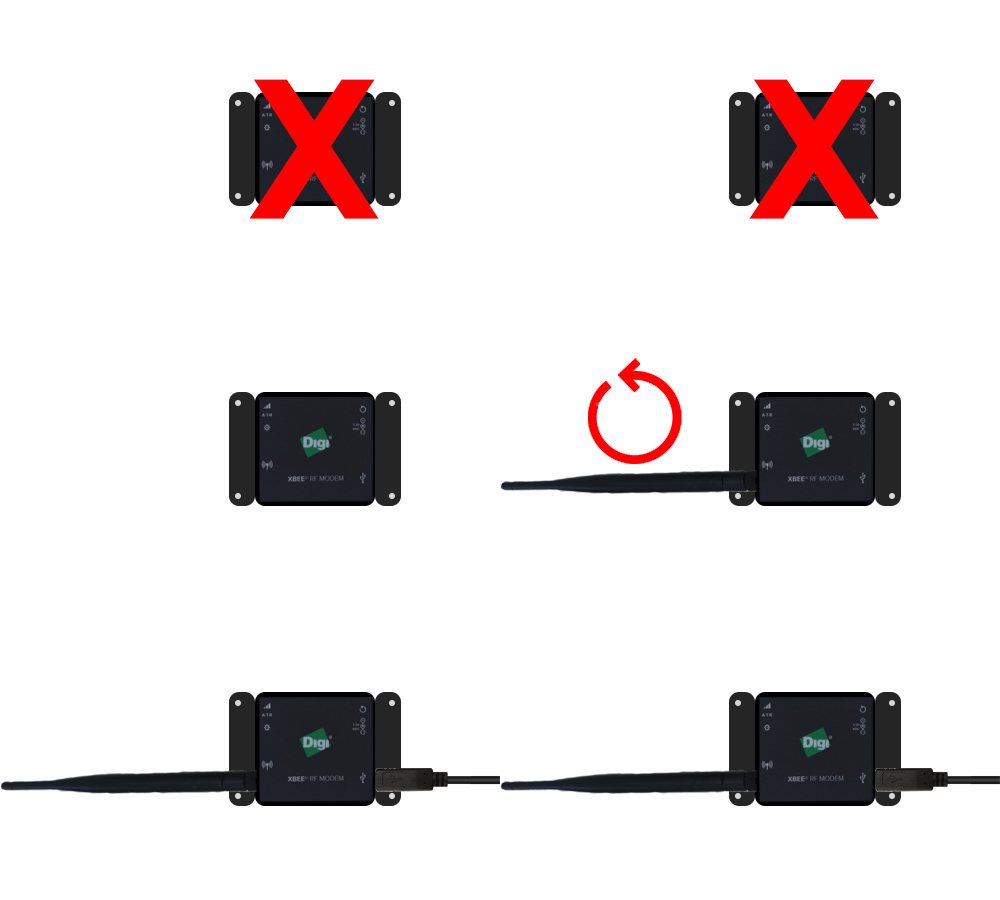
Remove the old coordinator. Place new coordinator in the same place, attach the antenna and plug in the USB cord.
USBCoordinator3.gif


Step 4.
Plug the Power Cord into the power port. Plug the Power Cord into an available 110V outlet.
USBCoordinator6.gif


Step 5.
Restart the VersaCall Service - Click here for Instructions


RelatedHowTos.png
Select a Guide Here
Find Coordinator Driver Settings
Install a USB Coordinator
Install a Remote Coordinator on the Same Subnet as the VersaCall Computer/Server
Install a Remote Coordinator on a Different Subnet than the VersaCall Computer/Server
Install a Real-Port Coordinator on the Same Subnet as the VersaCall Computer/Server
Install a Real-Port Coordinator on a Different Subnet than the VersaCall Computer/Server
Change System ISO Code


SearchHeader.png


VC Footer.png
Follow Us On LinkedIn View our Blog