VT3000 - Test Signal Strength - Coverage Test - BSC TIM BSC

From Versacall Support
Jump to navigation Jump to search
Call Now 858-677-6766 SubmitTckBtn.png EmailUsBtn.png


GeneralHeader.png

Overview
There is a method for testing the signal strength of the Mesh Network (communication between devices & coordinator). Generally you will perform this test when you have devices that go red on the Device Status page or are unable to set alarms/processes. There may also be issues with lists loading on a BSC, TIM or PSM. In any of these examples, a Coverage Test may be a good starting point in troubleshooting the issue.


Requirements
See Requirements Here
1. The VT3000 Core Software installed and running on your system.
2. A Coordinator must be setup, powered and communicating with the VT3000 Core Software.
3. Hardware device being tested, powered and communicating with the system.


InstructionHeader.png

Step 1.
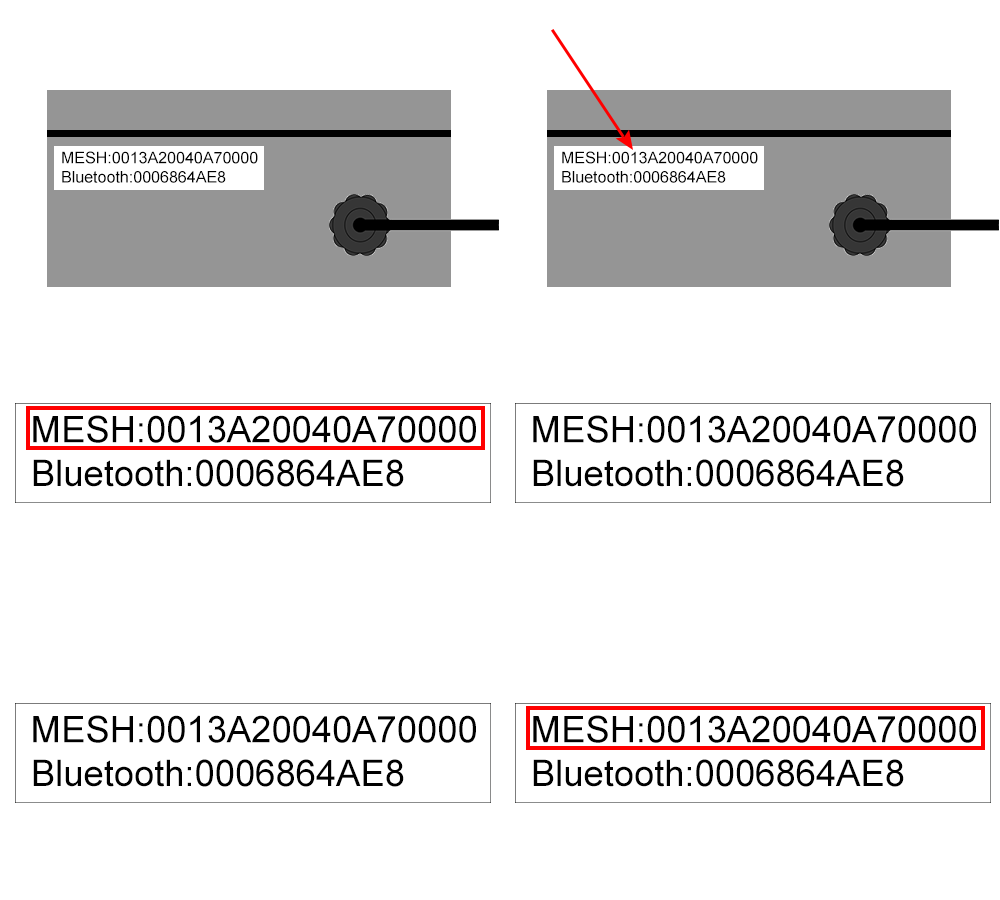
Find & make a note of the Mesh Address on the IO Module.
Install PSM4.gif


Step 2.
Open the VT3000 web interface – select VT3000 Core Software - log in – select Diagnostics – select Device Status.
Bscin21.png
Bscin24.png
Diagnostics Device Status


Step 3.
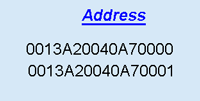
Find the device that you want to test the Signal Strength on using the Mesh Address you wrote down in Step # 1.
Bscin22.png


Step 4.
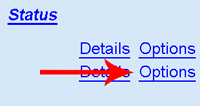
Select the Options link on the right side of the screen inline with the device.
Bscin23.png


Step 5.
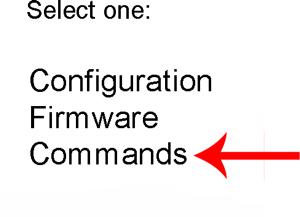
Select Commands from the list.
Cover1.png


Step 6.
On the right side of the list there will be a Command field - click on the down arrow for this field.
Cover2.png


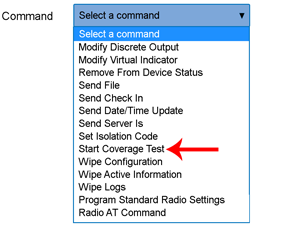
Step 7.
Select the Start Coverage Test option from the list.
Cover3.png


Step 8.
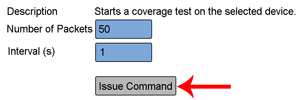
The following options will show below the Command field:
Cover4.png
Number of Packets - enter the number of test messages/packets to be sent to the device (50 is default). Larger number of packets produce a better result
Interval (s) - enter the number of seconds to elapse between each test message/packet. Longer spans produce a better result.
Issue Command - click once the number of packets & interval has been set to begin the test.


Step 9.
Select the Return to Device Status button.
Cover5.png


Step 10.
Locate the device that you are running the test on using the Mesh Address from Step # 1 - click on the Details link on the right side.
Cover6.png


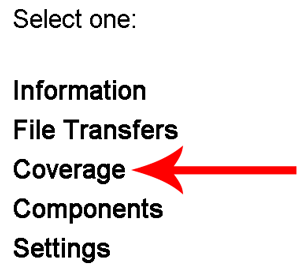
Step 11.
Select Coverage from the list.
Cover7.png


Step 12.
The following information is shown:
Cover8.png
Start Time - time when the coverage test was started.
Packets - number of packets/messages sent to the device.
Losses - number of packets/messages that were not successful.
Last Update - time when information was updated.
Average Interval - average time it takes to send & receive packets/messages.
Coverage - percentage of packets sent & received successfully versus losses.


Step 13.
Once the test is completed - select the Return to Device Status button.
Cover5.png


Step 14.
An icon will show next to the device in the status column.
Cover9.png
Cover10.png
Green icon means there is 100% coverage with no issues.
Red icon means there is an issue - the device needs to be moved or repaired.


RelatedHowTos.png
Select a Guide Here
Test the Signal Strength of the Bluetooth Connection on a BSC, TIM or PSM
Test the Signal Strength on a Battery Powered Call Station
Test the Signal Strength on a Powered Call Station


SearchHeader.png


VC Footer.png
Follow Us On LinkedIn View our Blog