Difference between revisions of "VT3000 - Print Out - Route"

From Versacall Support
Jump to navigation Jump to search
Line 27: Line 27:
|valign="top" |
|valign="top" |
|-
|-
|Open the VT3000 web interface – log in – select Configuration – select Routing.
|Open the VT3000 web interface – select VT3000 Core Software - log in – select Configuration – select Routing.
{|style="margin:left;"
|valign="top" |
|valign="top" |

Revision as of 22:29, 10 November 2021

Overview
After a Route has been added to the system, a printout can be created to check accuracy & details.
Requirements
1. The VT3000 Core Software installed and running on your system.
2. At least one Route setup in the system.


Instructions


Step 1.
Open the VT3000 web interface – select VT3000 Core Software - log in – select Configuration – select Routing.
3110 1.png
3110 2.png
Configuration Routing


Step 2.
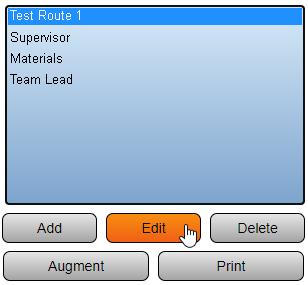
Select a Route from the list so that it is highlighted.
Break1.png


Step 3.
Select the Print button.
3128 4.png


Step 4.
A new tab will open on the browser - the printout will be similar to the image below.
3128 9.png
ICONS
3127 6.png
3127 7.png
3127 8.png
Print Download Email VC


Related - Step by Step Guides
No Communications on Breaks
Add a Route
Create a Device Configuration Print Out
Create a Outputs Print Out
Create a Schedule Print Out
Create a Shared List Print Out
Additional Help
Submit a Ticket - https://www.versacall.com/customer-support/service-ticket
Training Videos - https://www.versacall.com/training