Difference between revisions of "VT3000 - Add Route"
SupportAdmin (talk | contribs) |
SupportAdmin (talk | contribs) |
||
| Line 143: | Line 143: | ||
!<span style="font-size:150%; color:#0645ad">Additional Help</span> | !<span style="font-size:150%; color:#0645ad">Additional Help</span> | ||
|- | |- | ||
| | |'''Submit a Ticket''' - https://www.versacall.com/customer-support/service-ticket | ||
|- | |- | ||
| | |'''Training Videos''' - https://www.versacall.com/training | ||
|} | |} | ||
|} | |} | ||
Revision as of 17:53, 2 June 2021
Overview
Routes are created by adding escalations of time and outputs to those escalations. This allows the user to specify what output is to be contacted based on the alarm and module. All Outputs must be setup prior to starting this guide.
Requirements
1. The VT3000 Core Software installed and running on your system.
2. At least one Output setup in the system. Preferrably you will need multiple Outputs setup.
Instructions
1. Open the VT3000 web interface – log in – select Configuration – select Routing.
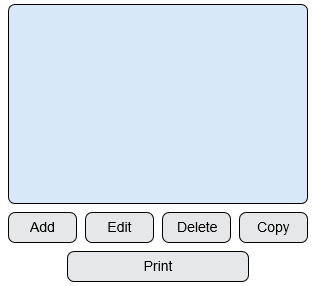
2. Select Add to create a new route - select a route then select Edit to change an existing route.
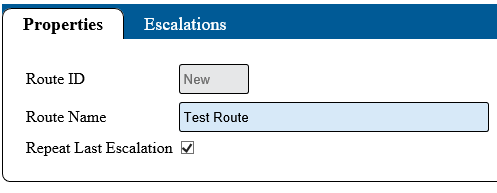
3. Route Properties:
    a. Route Name – enter a name for the route.
    b. Route ID – assigned by the VT3000 software.
    c. Repeat Last Escalation – mark if the last escalation should continue to get notifications if a call is not cleared.
NOTE" - when last escalation is unmarked notifications will stop once it is completed.
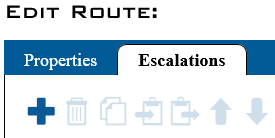
5. Select the Escalations Tab – click on the plus icon to add an escalation.
6. The escalation list shows all escalations and the time interval.
7. Escalation Properties:
    a. Duration – enter the number of seconds to elapse before the next escalation is initiated.
    b. Description – optional - enter a description.
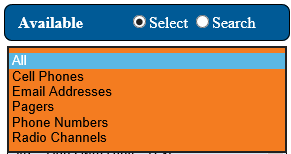
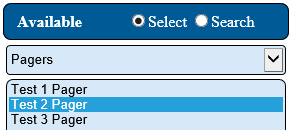
8. Available - Select - view outputs in a list. Sort the list by output or show all.
9. Use the list to select one or multiple outputs. Hold down the Ctrl key while selecting the output name to make multiple selections.
10. Select the Add button to add the outputs to the escalation.
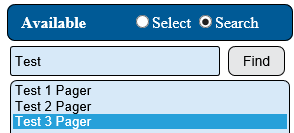
11. Available - Search - using a search field, find outputs by name.
12. Type in the name for the search - select the Find button.
13. Select the output in the list.
14. Select the Add button to add the output to the escalation.
15. Use the same steps to add additional escalations - select Save & Exit when completed.
|


