VT3000 - Update Firmware - Call Station - Manually

From Versacall Support
Jump to navigation Jump to search
Call Now 858-677-6766 SubmitTckBtn.png EmailUsBtn.png


GeneralHeader.png

Overview
Firmware updates are sent out with Software updates. This guide explains how to update firmware on a Call Station manually. Before starting this guide, contact VersaCall Service to get a zip file containing the file needed for this process.


Requirements
See Requirements Here
1. LOADME.hex file from VersaCall Support.
2. Micro SD Card from inside the Call Station.
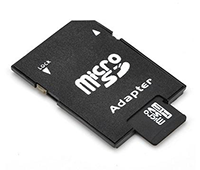
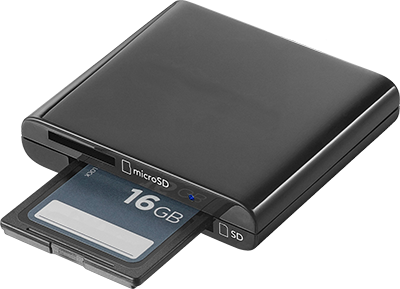
3. Micro SD Card Adapter or Reader plugged into the Computer being used for this process.
4. At least one Call Station powered and communicating with the system.


InstructionHeader.png

Step 1.
Unzip the file received from VersaCall - there will be a “LOADME.hex” file - place the file on the desktop of the computer you will be using to read/write to the Micro SD card.
3143 1.png
3143 2.png


Step 2.
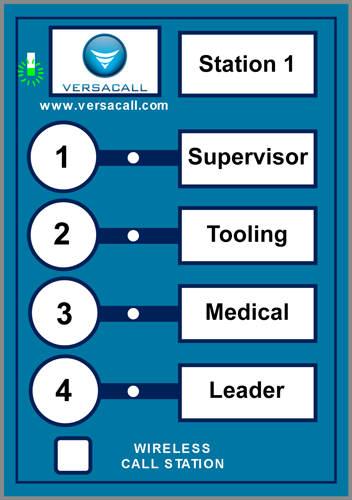
Stop/Clear all active Calls/Alarms on the Call Station. None of the LED's next to the buttons will be on or blinking.
CSCover6.png


Step 3.
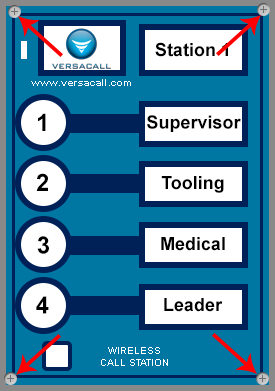
Disconnect power from the Call Station - loosen the 4 screws from Call Station cover - remove the cover.
Wire6.png


Step 4.
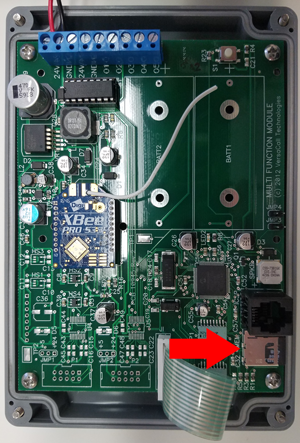
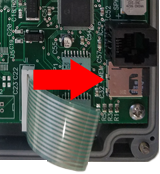
On the board – locate the Micro SD card in the bottom right corner.
3215 14.png


Step 5.
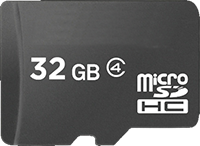
Remove the micro SD card - push in on the Micro SD Card and release. The SD Card will pop out of the sleeve enough for you to pull it out.
3143 6.png


Step 6.
Insert the Micro SD card into an adapter - insert adapter into a reader or use a reader that accepts a Micro SD Card. Plug the SD Card reader into the computer. Open Windows Explorer if it does not automatically open.
Program2.png
Mp3 file2.png


Step 7.
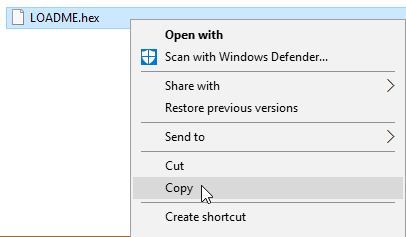
Use Windows Explorer to find the file from the zip file. Right click on the “LOADME.hex” file - select Copy.
3143 12.png


Step 8.
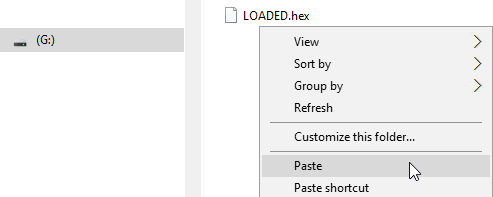
Navigate to the micro SD card – right click - select Paste. NOTE: Do not alter or remove any of the files.
3143 13.png


Step 9.
Remove the Micro SD Card from the reader. Place the card back into the sleeve/slot on the circuit board - push in on the card until you hear/feel a click then release. If the card pops back out, push in again until you hear the click. Once the click is heard it means the card is in place and you can proceed to the next step.
3143 6.png
3143 30.png


Step 10.
Attach the cover on to the base of the box by hand tightening the 4 screws. Once the cover is in place plug in power.
Wire6.png


Step 11.
The Call Station will make an audible beep for 30 - 60 seconds indicating that the new Firmware is being loaded. Once the beep has ended the Call Station will reconnect to the system and the Green LED will blink.
CSCover6.png


RelatedHowTos.png
Select a Guide Here
Installation Instructions for a Battery Call Station
Installation Instructions for a Powered Call Station
Add a Call Station Configuration
Update the Configuration on a Battery Call Station
Update the Configuration on a Powered Call Station
Update the Firmware on a Battery Call Station - Wireless
Update the Firmware on a Powered Call Station - Wireless
Install/Attach a Stack Light to a Call Station
Configure/Setup Light Stack on the Call Station Configuration
Setup the Use of the Light(s) on the Call Station Configuration
Change ISO Code on a Call Station using the # 1 - # 4 Buttons
Change ISO Code on a Call Station using the Micro SD Card
Change ISO Code on a Call Station using VT3000 Core Software Wirelessly
Perform a Coverage Test on a Powered Call Station
Perform a Coverage Test on a Battery Powered Call Station


SearchHeader.png


VC Footer.png
Follow Us On LinkedIn View our Blog